Noticed a bubbling wall, saggy ceiling, or that unsightly yellow stain spreading across your drywall? That’s your house waving a big red flag—it’s water damage. While it might seem intimidating at first, repairing water-damaged drywall is very doable if you follow the right steps and use proper tools. Whether you’re a seasoned DIYer or a first-timer ready to tackle a leak’s aftermath, this guide will walk you through the water damage drywall repair process so you can get your walls looking brand new again, without breaking the bank.
How to Spot Water Damage Before It Gets Worse
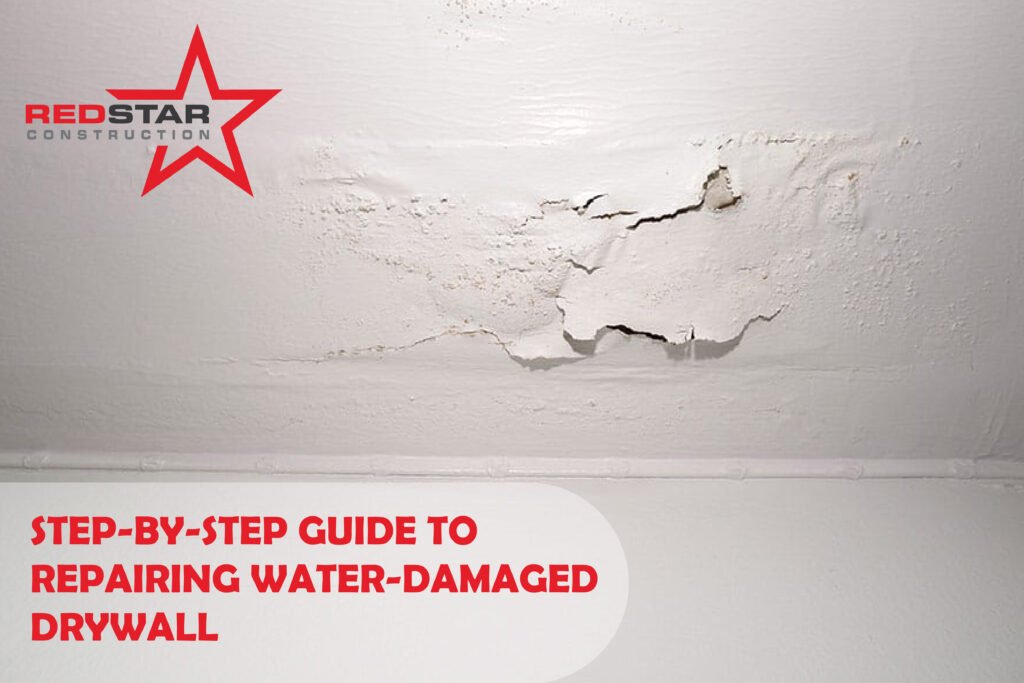
Before any repair begins, the first step is spotting the problem. Obvious signs include discoloration, bubbling paint, sagging drywall, and musty odors. But sometimes water damage is sneaky. Inspect around windows, near plumbing lines, under sinks, and along ceilings for subtle changes in texture.
Don’t just treat the surface. Water-damaged drywall typically points to a bigger issue, like a leaky pipe or roof. Fix the source before jumping into the repair itself. For help in serious situations, consult professionals like Red Star Construction for water damage restoration.
Safety First: Prep the Space and Gear Up
Once you’ve located the damage and fixed the leak, prep your workspace. Turn off the electricity in affected areas if the water is near wires. Lay down a tarp or plastic sheeting to catch falling debris.
Equip yourself with gloves, a dust mask, safety goggles, and a utility knife. Water-damaged drywall might harbor mold or bacteria, so protection is essential.
Remove the Damaged Drywall Safely and Cleanly
Carefully cut out the compromised area using a drywall saw or utility knife. Be sure to remove all soggy and soft drywall. Don’t forget to measure beyond the visibly damaged parts to ensure you’re cutting out everything affected.
Dispose of the old drywall in heavy-duty trash bags. Clean up the area using a disinfectant to kill any mold spores and allow it to dry thoroughly before moving on.
Inspect the Insulation and Framing
Behind drywall lies insulation and wall studs that may also be affected. If insulation is wet, it should be removed and replaced. Allow any damp framing to dry completely to avoid rot or mildew.
You may also use a moisture meter to confirm that wood or framing studs are completely dry before installing new materials. Consider moisture-resistant drywall repair if you’re working in a kitchen, bathroom, or basement.
Install the New Drywall Patch Like a Pro
Measure and cut a new piece of drywall to fit your opening. Place it securely in the wall cavity and use drywall screws to attach it to the studs. This is where water-damaged drywall replacement turns into an art—be patient and precise.
Use mesh tape along the seams and apply joint compound with a putty knife. Feather the edges for a smooth finish. Let it dry, sand it down, and repeat as needed until it looks seamless.
Prime and Paint for a Clean, Finished Look
Once your patch is dry and smooth, it’s time to paint. First, apply a stain-blocking primer to prevent any leftover discoloration from bleeding through.
Then paint the wall with your chosen color. For a professional finish, consider services like Red Star Construction’s Drywall Services to ensure the new patch blends flawlessly with the rest of your wall.
Estimate the Cost: What Should You Expect to Spend?
The water-damaged drywall repair cost can vary depending on the extent of the damage and whether you DIY or hire pros. Here’s a quick breakdown:
- DIY repair: $50–$150 (tools, drywall, joint compound, etc.)
- Small pro repair: $200–$500
- Larger repair with water damage restoration: $800–$2,000+
Get multiple quotes if hiring professionals, and ask if their drywall repair services include painting or mold removal.
Prevent Future Damage With These Smart Tips
Repairing drywall after water damage is just part of the story. Keep your home protected moving forward:
- Regularly inspect roofing and plumbing
- Install leak detectors near water sources
- Use waterproof paint in moisture-prone areas
- Upgrade to water-resistant drywall in bathrooms and basements
These practices can minimize future repair costs and extend the life of your interior walls.
Final Thoughts: Don’t Let Water Damage Linger
Drywall repair after water damage doesn’t have to be overwhelming. With the right steps and tools, you can restore your walls and avoid future headaches. Remember, speed is key—addressing water damage early reduces cost and risk.
For large-scale issues or complete restorations, contact trusted experts like Red Star Construction to get high-quality results with peace of mind.
Restore your space confidently—one drywall panel at a time!
FAQs About Drywall Repair After Water Damage
Q: Can I repair drywall myself, or should I hire a pro?
A: Light to moderate drywall water damage repair is often manageable for DIYers. For structural damage or mold, hire a professional.
Q: How do I know if drywall is too damaged to patch?
A: If the drywall is soft, sagging, or moldy, it’s best to remove and replace it entirely.
Q: What kind of drywall should I use for replacement?
A: In humid areas, choose moisture-resistant or green board drywall for longer-lasting results.
Q: Do I need to replace insulation behind water-damaged drywall?
A: Yes, if insulation is wet or moldy, replace it to avoid odors and health risks.
Q: How long should drywall dry before patching?
A: Ensure everything behind the wall is dry—usually 24–48 hours—before installing new drywall.